Friday, February 26, 2021

Mystery Card Kits


Hi everyone.  Today in my Facebook group we are doing a monthly Mystery Card Kit.  I Thought I would blog about it in case some of my blog viewers are not part of the Facebook Group.  You can join the group here: https://www.facebook.com/groups/bethspapercuts

Towards the beginning of the pandemic, I have been sending out card kits to people in the group.  The kits have supplies to make a card, but no instructions.  Then at the end of the week I show the intended version of the card. It is fun to see how different people use the pieces of the kit.  

This month the kits are sort of easy to figure out, because they pieces really only fit one way.  I wanted to make this months cards fun folds, so not so much of a 'Mystery' this go around :)


Here are the pieces from the first kit. If you want to follow along, the pieces measure like so:

Card Base 8 1/2 by 5 1/2, scored at 2 1/8 and 4 1/4. (Rococo Rose used here)

cardstock pieces:

8 1/2 by 3, scored at 2 1/8 and 4 1/4 (Rococo Rose used here)

4 by 2 3/4 (Night of Navy)

3 3/4 by 2 1/2 (Basic White)

2 pieces at 2 3/4 by 1 3/4 (Night of Navy)

2 pieces at 2 1/2 by 1 1/8 (basic white)


Designer Series Paper:  Paper Blooms Designer Series Paper used here.

4 by 5 1/4

2 pieces at 5 1/4 by 1 7/8  

Here is the finished project.   All the Mystery Kits use the Paper Blooms Designer Series Paper and the In Blooms dies I also use stamps from the Happy Thoughts stamp set. 


Open card.  You could add more flowers to the center panel, or use the spaces to write your greeting and sign your name.


This photo just shows how it opens. 


The second kit was a Twist and fold card.  The dementions for the pieces are as follows.  

Cardstock: 4 1/4 by 11, scored at a diagonal from one corner to the opposite corner.  (Seaside Spray cardstock used here)

Designer Series Paper: 10 by 3 3/4 cut at a diagonal from one corner to the opposite corner. (Paper Blooms Designer Series Paper used here)

Also included was an assortment of flowers cut from the Pierced Blooms dies in Night of Navy, Petal Pink, Rococo Rose, and Seaside Spray. I also included a die cut label from the Pierced Blooms dies, and a strip of Seaside Spray Scalloped Linen Ribbon. 


Here is what the folded card looks like.  

The folded cards ends up with two pockets, one on front, one inside.  I closed up the outside pocket with the ribbon.

Here is the inside of the card.

You can use the left side to write your greeting.


The inside pocket is great to add a gift card, check or cash.  You could also just add an additional piece of cardstock and add a message, or even a photograph.


This is the third kit.  This kit made a swing card, which is a card where the center panel swings as you open it, to reveal the greeting on the back. 

This one has some tricky scoring and folding.  

The Cardstock pieces are as follows: 6 3/4 by 5 1/2 (Seaside Spray used here)

2 pieces at 4 by 2 1/2 (Rococo Rose used here)

2 pieces at 3 3/4 by 2 1/4 (basic white)

Designer Series Paper: Paper Blooms Designer Series Paper used here.  2 pieces 5 1/2 by 21/2

Also included are a variety of flowers cut from Night of Navy, Rococo Rose, Petal Pink and Seaside Spray, and some Old Olive Leaves.


 This is how it's scored.  You can download the scoring template here: https://issinternet-my.sharepoint.com/:i:/p/bethrush/EVYb4RaLCrZPiGEc_urovTIBrqVJSdcTtlr0q35r2mktPg?e=NwcWCl


Here is what the swing card looks like closed.


Then when you open it, the center panel swings around to show you the back and it looks like this. 


I posted the Facebook Live on my YouTube channel is you would like to see how to put the cards together and how they work.  It's a Facebook live so there is a lot of chatting, but luckily you can fast forward.   :) 


Shop with me! I would love to be your demonstrator.  I always send a hand stamped thank you card and sometimes more with a larger order, and I share my Stampin' Rewards with you through my Frequent Buyer Rewards! Earn FREE STAMPS! Click on the Frequent buyer tab to download the tracking sheet.

Is your wish list large?  Join my team! You don't have to 'Demonstrate' to be a 'Demonstrator'.  Join Stampin' Up! and get a nice discount on the products you love, and you can quit at any time.  Joining for the discount and social aspects of Stampin' Up! is a great reason.  Contact me with any questions. 


Wednesday, February 24, 2021

Faux Layering Technique with sponges and masks

 Hi everyone.  Today I am playing with sponges for an upcoming team card swap.  The theme of our swap is sponging techniques.  I wanted to use the Soar Confidently stamp set to make a card for a recent grad and thought instantly of clouds.  


I made a mask frame out of a post it note by cutting a square from the center using the largest square from the Layering Squares framelit dies. 


Next I cut some masks for the clouds.  You could just use scissors and cut some scallops into the tops of a post-it, but I used a die from the 'Happy Dies' collection.  This die set is fun with some balloons, so it would be a good one to use with the clouds as well.    I cut two masks, one biased to the right and one to the left, just that I could have some variation in my clouds.


add the square mask on top of a piece of 4 by 5 1/4 basic white cardstock.  Then add a cloud mask and sponge your color.   I used my new Blending Brushes, but sponges work great too and I show both ways in my video.


work your way down the square alternating your cloud masks a bit for variety.


When finished with the clouds, I added a thin line with my Light Gray Granite Stampin' Blend Marker. I added the line to the left side and bottom only, for a shadow effect. I did this a few other ways too, with a blender pen and gray ink, or with a water color pencil, all worked well. I show both ways in my video.  It's hard to see on the photo but it really looks as though the cloud layer is a separate piece of paper layered on top of the Basic White layer. 


I did a version in Calypso Coral.  I thought this sky looked like very early morning.


This version uses Seaside Spray. 


Watch the video for some tips and to see the whole project step by step, using both Blending Brushes and Sponges. 


Shop with me! I would love to be your demonstrator.  I always send a hand stamped thank you card and sometimes more with a larger order, and I share my Stampin' Rewards with you through my Frequent Buyer Rewards! Earn FREE STAMPS! Click on the Frequent buyer tab to download the tracking sheet.

Is your wish list large?  Join my team! You don't have to 'Demonstrate' to be a 'Demonstrator'.  Join Stampin' Up! and get a nice discount on the products you love, and you can quit at any time.  Joining for the discount and social aspects of Stampin' Up! is a great reason.  Contact me with any questions. 


Product List

Tuesday, February 23, 2021

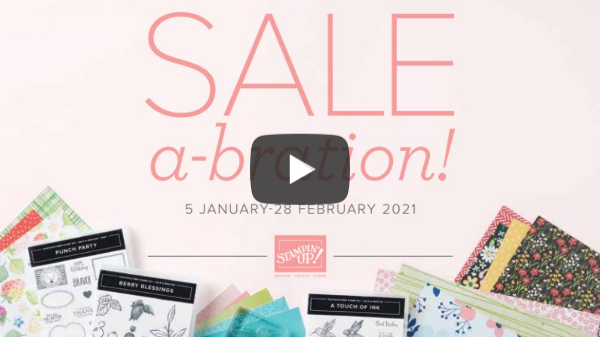
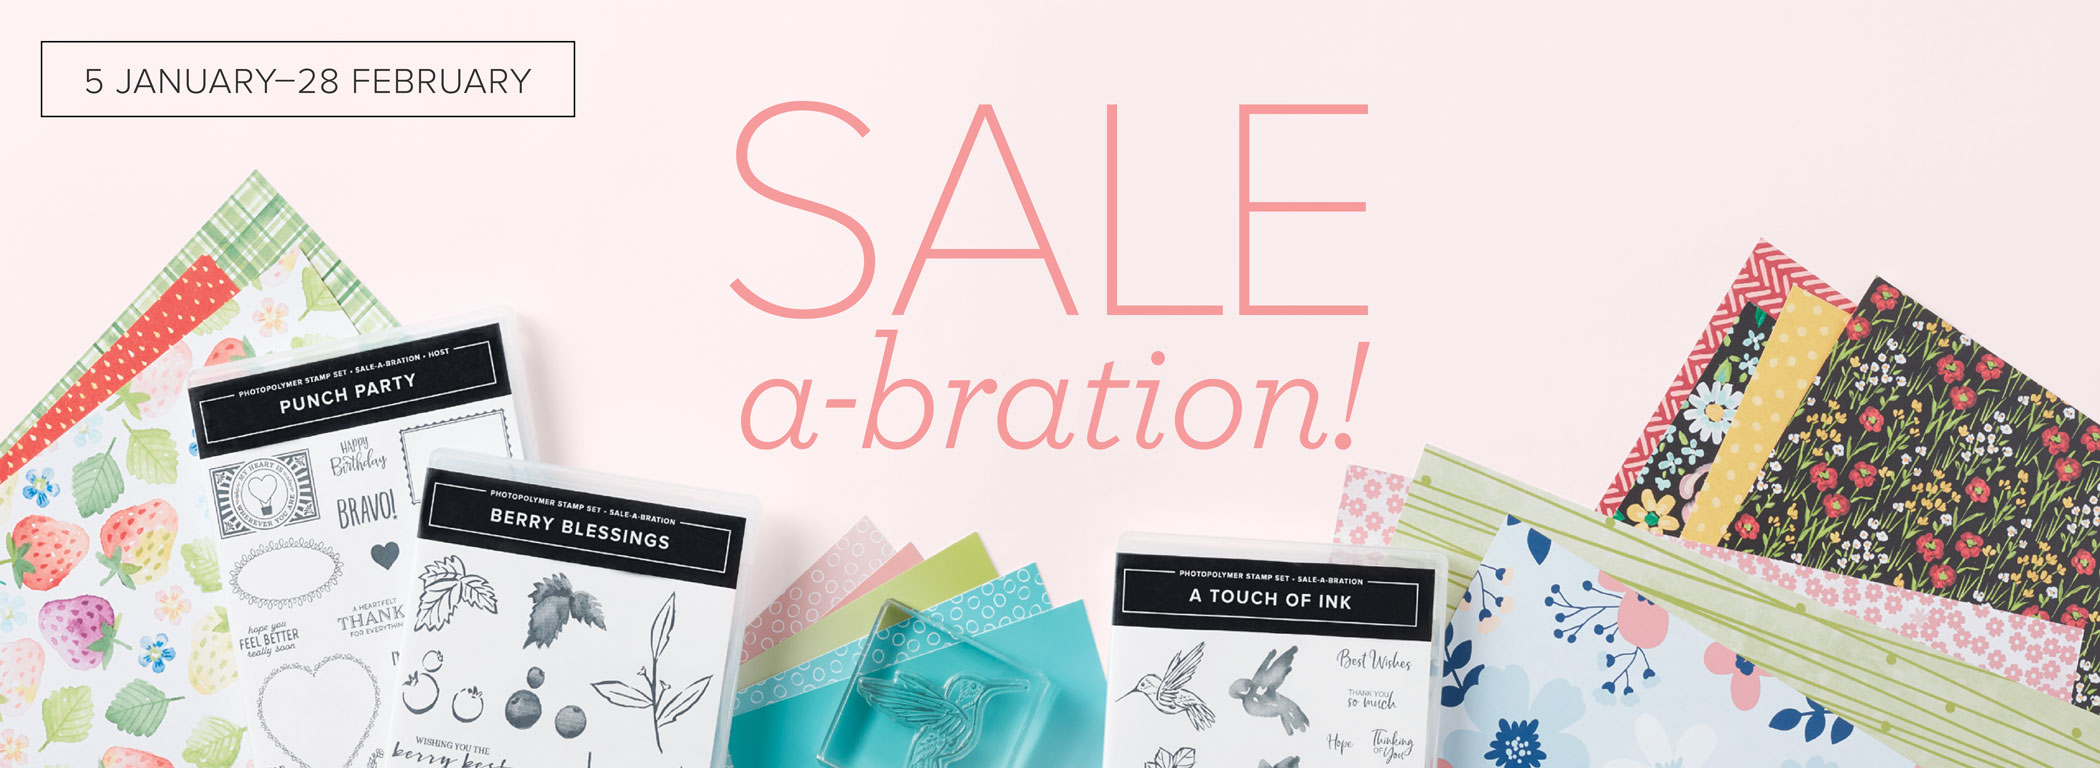
Sale-a-Bration ending soon

 There are only a few more days to Sale-a-Brate!

Sale-a-Bration 

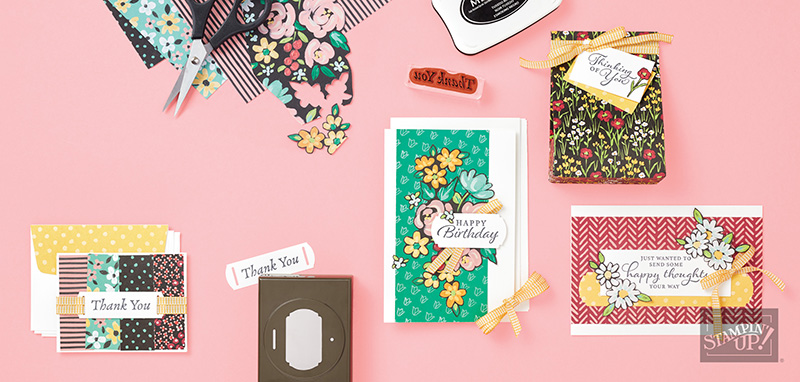
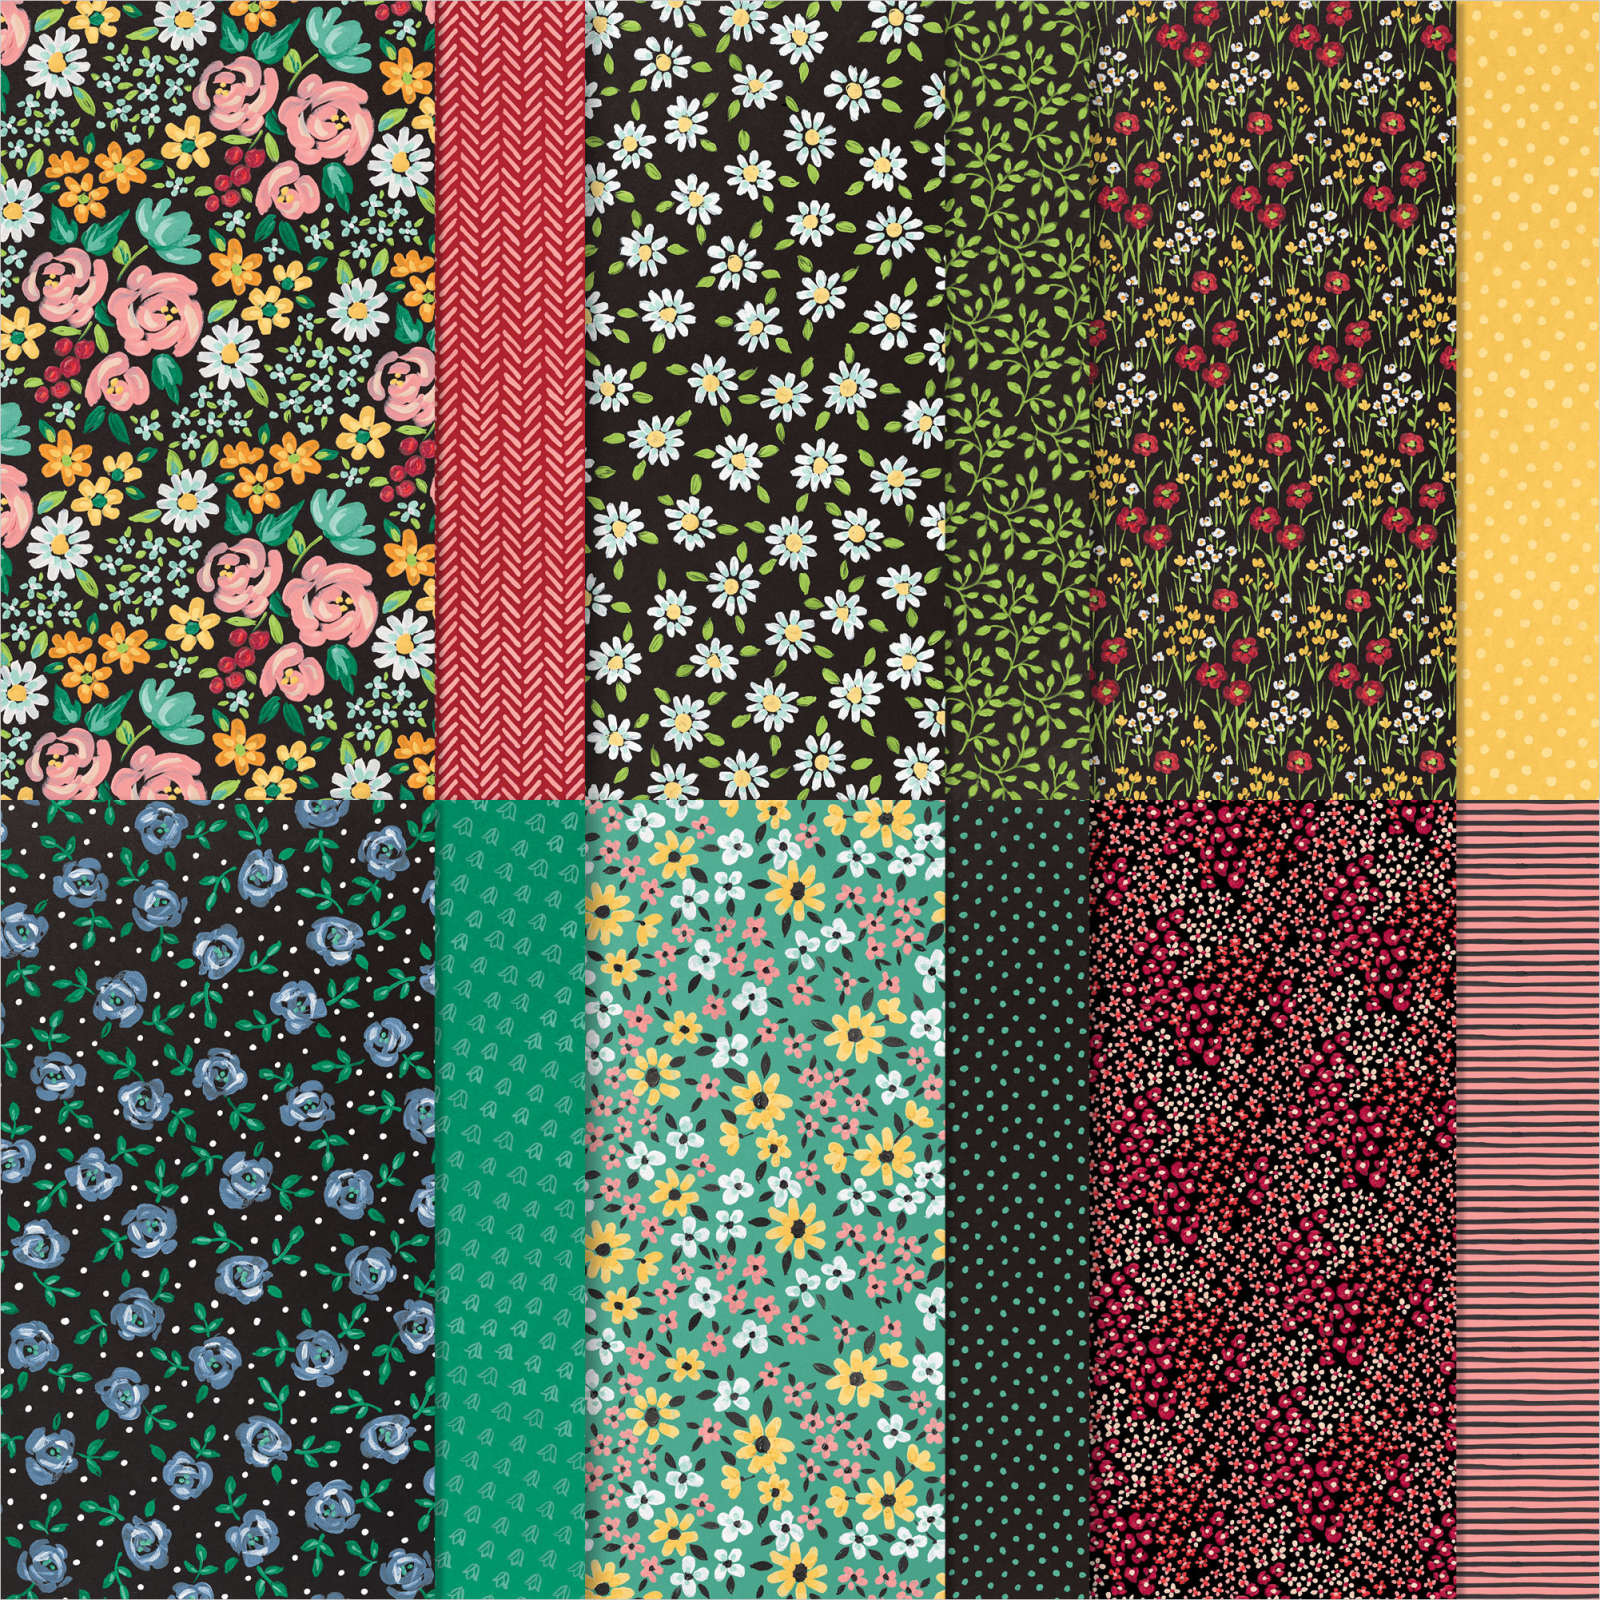
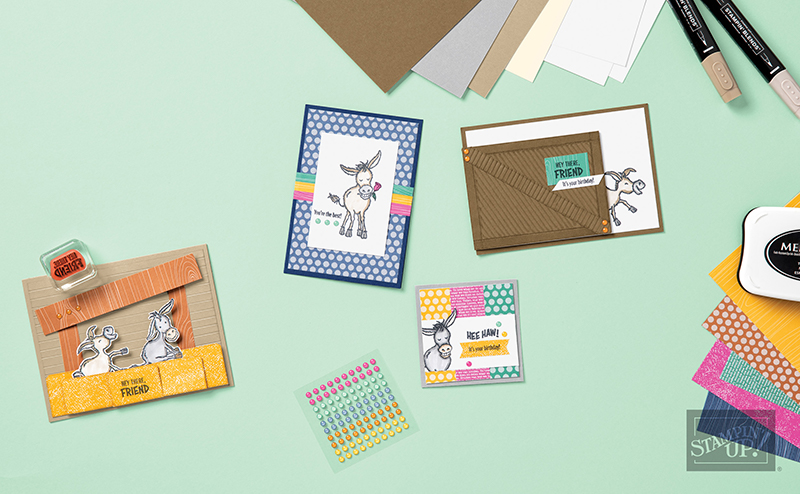
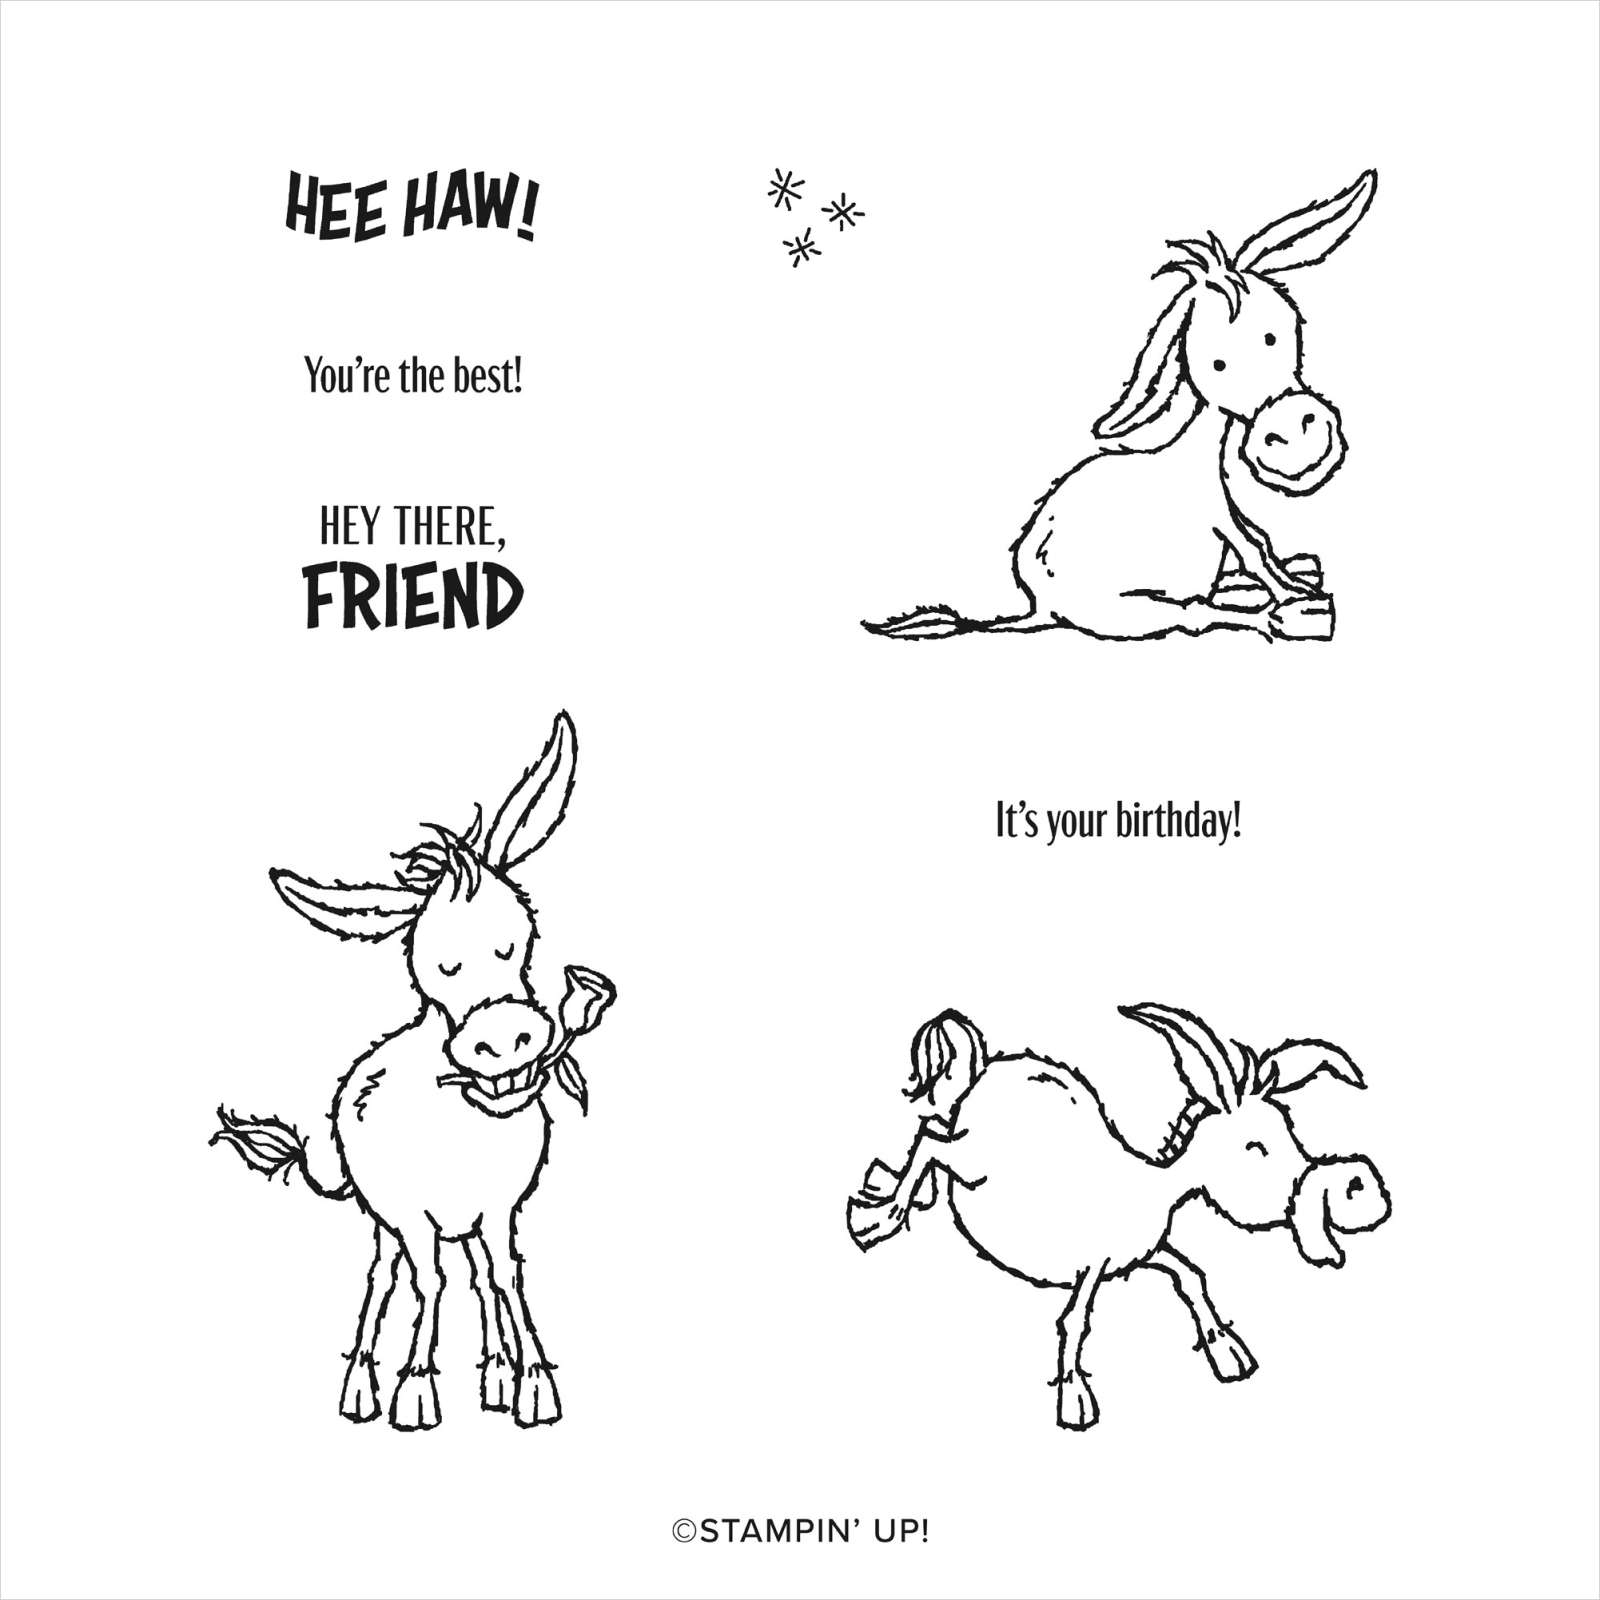
Don't let the fun and rewards of Sale-a-Bration slip by without you! Did you notice that Stampin' Up! has made creating fun projects simple by making Project Collections in the Sale-a-Bration Brochure? These collections include the supplies needed to create the projects shown in the brochures. It's so smart! The Darling Donkeys Sale-a-Bration stamp set (#155264) on page 4 of the brochure has the Darling Donkey's Project Collection (#158155). The collection includes the supplies needed to create the four sample cards. When you buy the collection you also earn a Sale-a-Bration reward item, like the coordinating Darling Donkeys stamp set! You'll also find a Flower & Field Project Collection (#158157) on page 10 of the Sale-a-Bration Brochure that coordinates with the Flower & Field Designer Series Paper (#155223). Sale-a-Bration ends February 28th - order now so you don't miss out!

As always, feel free to contact me at any time! I love to discuss all things stampy!
Sincerely,
Beth

Sale-a-Bration Brochure

DOWLOAD SALE-A-BRATION BROCHURE

Flower & Field Project Collection (#158157)

Create cards for countless occasions with the Flower & Field Project Collection from Stampin' Up! Celebrating birthdays, saying thank you, and offering congratulations will be easier than ever. Use the Flower & Field Designer Series Paper as an unforgettable backdrop for your cards and more. This collection is also available in French. The Flower & Field Project Collection includes * Happy Thoughts Stamp Set * Assorted Memories & More Cards & Envelopes * Memento Ink Pad * Bumblebee 1/4" (6.4 mm) Gingham Ribbon * Label Me Fancy Punch When you buy the collection you also earn a Sale-a-Bration reward item, like the coordinating Flower & Field Designer Series Paper! #158157 FLOWER & FIELD PROJECT COLLECTION FLOWER & FIELD 12 X 12 INCH (30.5 X 30.5 CM) DESIGNER SERIES PAPER #155223 FIND OUT MORE

Darling Donkey's Project Collection (#158155)

Create fun projects with the Darling Donkeys Project Collection by Stampin' Up! With these supplies on hand, you will have everything you need for an fun and easy coloring and crafting experience. Create cards for a variety of occasions! The Darling Donkeys Project Collection includes * Neutrals A4 Cardstock * Whisper White A4 Cardstock * 2020-2022 In Color 6" x 6" (15.2 x 15.2 cm) Designer Series Paper * Memento Ink Pad * Crumb Cake Stampin' Blends * Smoky Slate Stampin' Blends * 2020-2022 In Color Enamel Dots When you buy the collection you also earn a Sale-a-Bration reward item, like the coordinating Darling Donkeys stamp set! Sale-a-Bration DARLING DONKEYS CLING STAMP SET #155264 FIND OUT MORE Sale-A-Bration 2021 | Stampin' Up!

Wednesday, February 17, 2021

Hey Chick and Hey Birthday Chick bundles


I spent a bunch of time over the past couple days playing with the Hey Chick and Hey Birthday Chick bundles.  I intended to make a couple of cards and then move on to something else, but I just kept going and going and before I knew it, I had almost a dozen cards made.   This is seriously a fun bunch of stamps and dies.

Do you recognize those silly chickens?  The first stamp set was released in the 2017 Sale-a-Bration catalog.  The first Hey Chick stamp set was free with a $50 purchase.  It was so popular, Stampin' Up! brought it back and gave it dies and a whole second stamp and die set to go with it!  Below are my cards from the Hey Chick and Hey Birthday Chick sets.


This card uses Watercolor Pencils to color in the chicks.  I hadn't used them in awhile and it was fun to get them out and use them. 

Card Base is Bumblebee and the patterned paper is from the Dandy Garden Designer Series Paper Pack.


This little cupcake eating chicken was also colored in with the watercolor pencils.  

I used patterned paper from the Brights 6 x 6 Designer Series Paper pack.  The Velum layer was first run through die cut machine with the Stitched With Whimsy dies to give it that sewed frame look.


This card also features a velum layer that was run through with the Stitched with Whimsy dies.  I wish you could see it in person because the stitching really looks nice around the edges. 

To color the Happy Birthday die, I used watercolor pencils on a piece of Basic White and then cut it out with the die. 

Card base is Calypso Coral.  Sequins are from the Artistry Blooms Suite. 


For this card I wanted to see if I could make a card using the Birthday Chick dies but no actual chickens.  

The patterned paper is from the Playing with Patterns 6x6 pack.  The accent dots are also from the Playing with Patterns suite. 

Card Base is Night of Navy.  The Scalloped rectangle is from the Stitched So Sweetly dies.


This time I was looking at the dies and the little eggs screamed Easter to me, so I thought I would try an Easter Card.  

Background Paper is once again from the Playing with Patterns Designer Series Paper. 

Eggs are cut from Coastal Cabana.  Nest is made from Linen Thread.  Little chick was cut from Bumble Bee cardstock.  Circles were cut with the Layering Circles dies. 

The Easter Blessings sentiment stamp comes from the Itty Bitty Greetings stamp set. 


This next card is set on a base covered in paper from the In Good Taste Designer Series Paper pack. I love the wood planks.  I used the Watercolor Pencils to create the background. I also used them to color the chicken.  To color the fence and Corn stalk, I used Watercolor Pencils and colored areas of color onto Basic White, then cut out the die shapes with the colored paper. 


I colored this silly chicken with Stampin' Blends in Mango Melody and Pumpkin Pie.  The card also uses Granny Apple Green,  Pool Party and Bumble Bee. 


I copied this card right off the flyer. In love that cute little just hatched chickie.  

This card has a base in Calypso Coral and  Playing with Patterns Designer Series Paper. 


Here are those adorable little eggs and hatch-lings, this time on a square card.  The base is 4 1/4 by 4 1/4. 


I decided to try my hand at copying the Slim Line card from the flyer as well.   The base is 8 1/5 by 6. folded in half at 3 inches.  It was a fun card to make.  I used Stampin' Up! watercolor pencils once again to color the chickens. 


This is a super fast and easy background made with just a few strips of Misty Moonlight cardstock. The chicken was colored with Mango Melody Stampin' Blends. 


Can you belive yet anothe chicken card.  I wasn't kidding when I said I used it all day!  

This one is colored with Blender Pens using ink from the lids of the ink pads.  Using Blender pens gives a softer look than markers. 

 This card has a base in Soft Sea Foam.  The Gingham ribbon is one of my favorites, it is in Just Jade and is from the Flowers for Every Season ribbon combo pack. 


This is the last card. Not the last one I made but the last one I am posting.  I seem to have forgotten to take a picture of the other two so I will post about them later.  This one is based on the original flyer from the 2017 Sale-a-Bration catalog.


This close up shows the little spots I made with the Color Lifter Stampin' Blend. 


Here is a video showing the sets and dies in detail, as well as Step by step how to color with these chickens with the Stampin' Blends, specifically the Color Lifter. 


Shop with me! I would love to be your demonstrator.  I always send a hand stamped thank you card and sometimes more with a larger order, and I share my Stampin' Rewards with you through my Frequent Buyer Rewards! Earn FREE STAMPS! Click on the Frequent buyer tab to download the tracking sheet.


Product List