Wednesday, September 29, 2021

Faux Tearing Technique

 Hi again everyone! I have a couple more cards to show you using the Faux Tearing Technique.  It was so fun I just kept making more trying to find more of my stamp sets that would look nice with this technique. 

I love how it looks with the Snowflake Wishes stamp set. Here I used Balmy Blue and Night of Navy with accents in Silver Foil. 


On this next card I used Cinnamon Cider and Bumblebee with a touch of Rich Razzleberry.  This card uses the Gorgeous Leaves stamp set.  I cut the gold leaf from Gold Shimmer Vellum with the Detail Leaves Dies.  The Designer Series Paper that is used in the background is from the Blackberry Beauty Designer Series Paper Pack, and the sentiment is from Ornate Thanks. 


This is the first card that I shared yesterday with the Peaceful Deer stamp set.


Below is a video showing how to place your Post-it notes and add the color to  your background to get the Faux Tearing look.  I hope you'll give it a try!! Share what you come up with in my Facebook group "Beth's Paper Cuts Idea Sharing Group".  here is a link: https://www.facebook.com/groups/bethspapercuts


Shop with me! I would love to be your demonstrator.  I always send a hand stamped thank you card and sometimes more with a larger order, and I share my Stampin' Rewards with you through my Frequent Buyer Rewards! Earn FREE STAMPS! Click on the Frequent buyer tab to download the tracking sheet.

Is your wish list large?  Join my team! You don't have to 'Demonstrate' to be a 'Demonstrator'.  Join Stampin' Up! and get a nice discount on the products you love, and you can quit at any time.  Joining for the discount and social aspects of Stampin' Up! is a great reason.  Contact me with any questions.


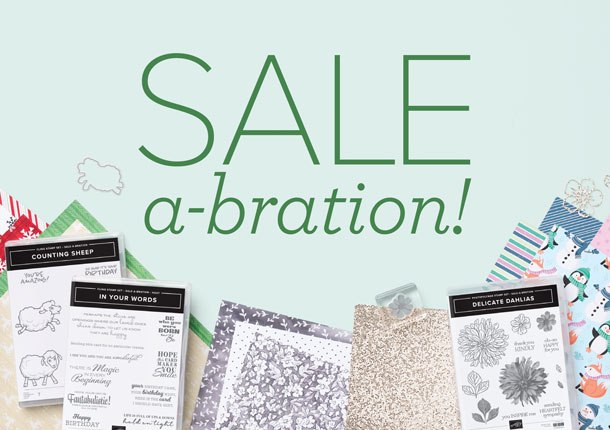
Sale-a-Bration ending soon!


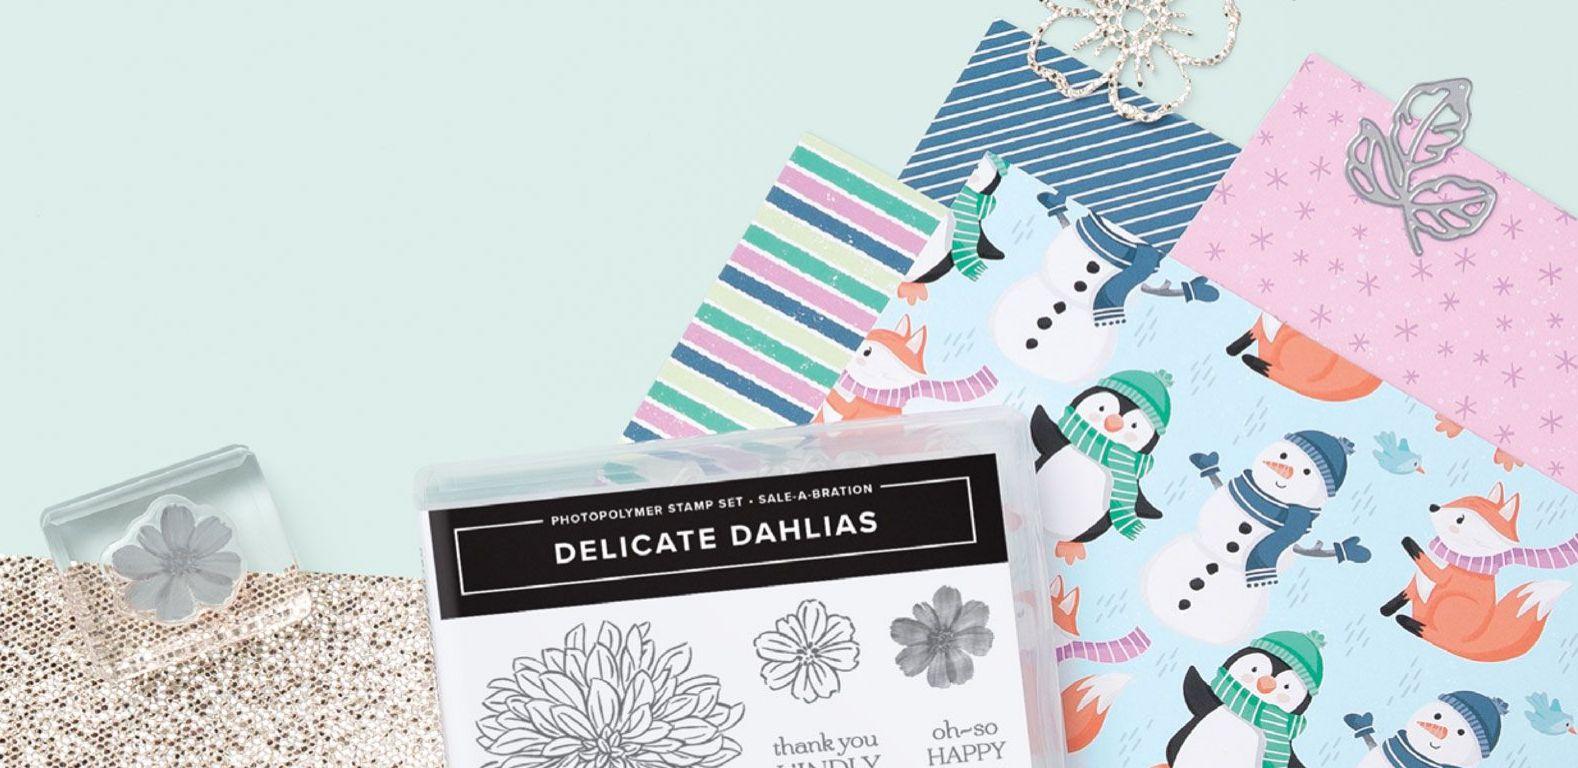
Sale-A-Bration

Sale-a-Bration ends September 30th! With so many awesome Sale-a-Bration reward options I'm sure you still have a couple items on your wish list - I know I do!

Now is the perfect time to get some Sale-a-Bration rewards while you stock up for holiday crafting and gift giving. It's also a great time to re-stash your basics like Basic White cardstock, envelopes, and adhesives - plus get rewarded with free stamping goodies.

Order today and check off your Sale-a-Bration wish list before these fantastic freebies are gone!

As always, feel free to contact me at any time! I love to discuss all things stampy!
Sincerely,
Beth


Sale-a-Bration Brochure

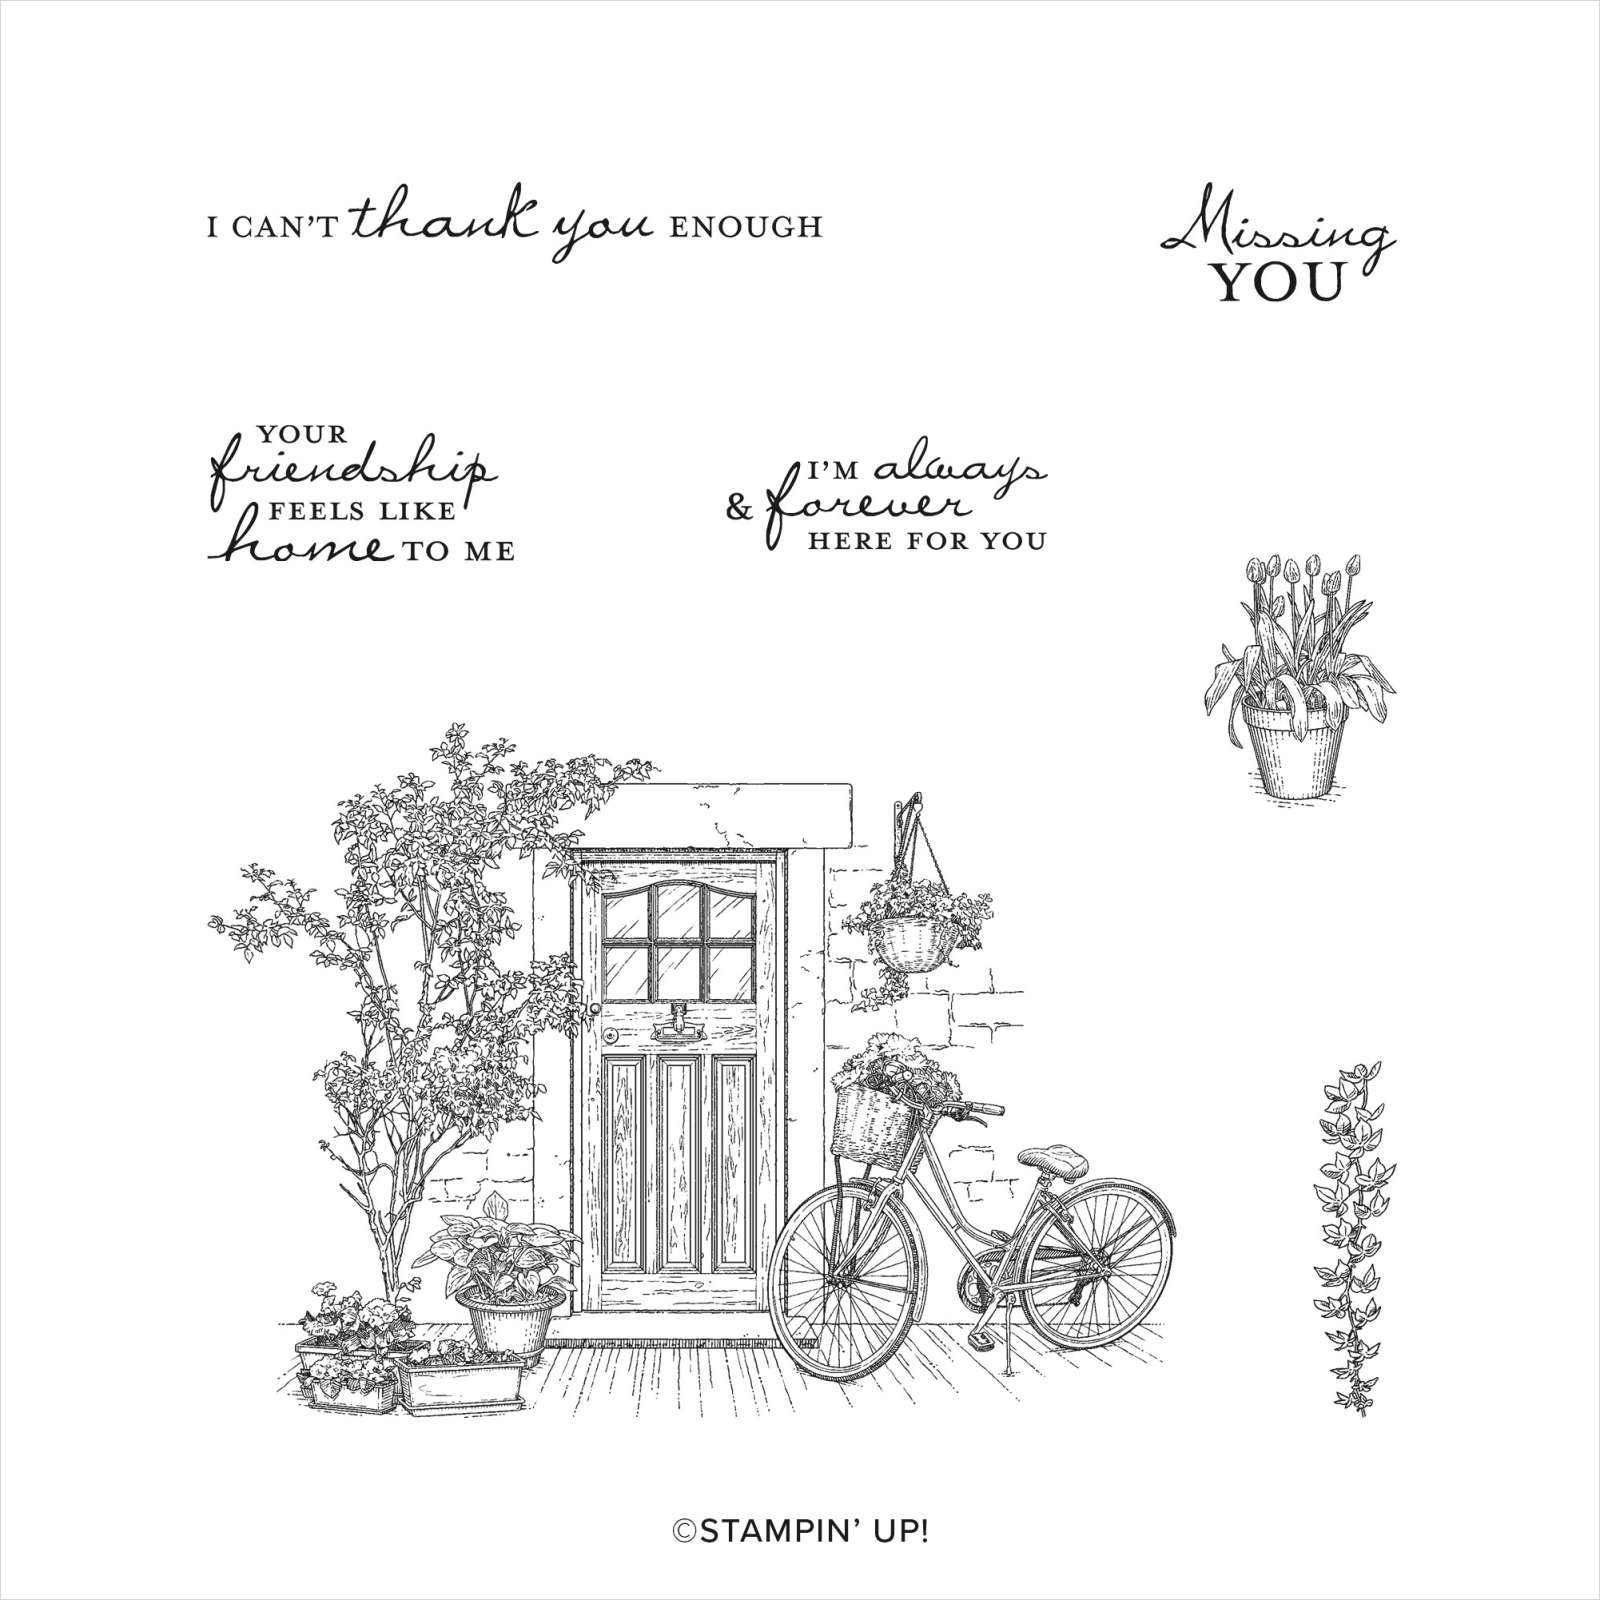
FEELS LIKE HOME STAMP SET | EARN THIS!

Detailed Red Rubber Stamps

Sale-a-Bration | Feels Like Home Stamp Set

Create gorgeous friendship cards and make your friends feel loved with the Feels Like Home Stamp Set. This set includes heartfelt sentiments and beautiful imagery. The stamp set will not only make you look very creative but also give you various coloring possibilities.

Here's the inside scoop on some cool features of this set: The main door image of the set was illustrated by hand with incredible detail and precision, which makes it look very realistic. The pot of tulips can be added to the scene or used on the inside of your card, or even on your envelopes! The vine image can be repeated to create a border. Use these ideas, add your own touch, and send your friends the most beautiful thank you and missing you cards.

This stamp set is also available in French.

* 7 cling stamps
* Suggested clear blocks (sold separately): b, d, e

Sale-a-Bration | Feels Like Home Stamp Set

Tuesday, September 28, 2021

Peaceful Deer bundle from Stampin' Up! with Masking and Sponging


I used Post-It Notes and the Blending Brushes to create these fun cards using the Peaceful Deer bundle from Stampin' Up!  Masking with Post-It Notes is so fun and easy.  I used the Post-It notes as masks to cover up areas that I did not want to touch with the Blending brushes.  You can achieve some fun looks, such as the Faux Tearing card and the Moonbeam card. 


For the Faux Tearing card, I asked off an area from the top and bottom of the Basic White Cardstock.  I then sponged a skyline in Balmy Blue, then Stamped a tree line in Shaded Spruce. 

I stamped Rudolph on Soft Suede cardstock and added Antlers punched from Crumb Cake.  I added a fun Red Rhinestone nose. 


For the Moonbeam card, I masked off an area and then used Blending Brushes to create the night sky.  I started with Balmy Blue near the ground and then Misty Moonlight higher in the sky.  I also splattered Wink Of Stella for some stars.  

The deer are stamped in Memento Black and colored in with Light and Dark Soft Suede Stampin' Blends. 

I also used Stampin' Blends to color the normally Black and White Gingham Ribbon with Red to match the Paper Background. 


See a full how to video on my YouTube Channel here: 


Shop with me! I would love to be your demonstrator.  I always send a hand stamped thank you card and sometimes more with a larger order, and I share my Stampin' Rewards with you through my Frequent Buyer Rewards! Earn FREE STAMPS! Click on the Frequent buyer tab to download the tracking sheet.

Is your wish list large?  Join my team! You don't have to 'Demonstrate' to be a 'Demonstrator'.  Join Stampin' Up! and get a nice discount on the products you love, and you can quit at any time.  Joining for the discount and social aspects of Stampin' Up! is a great reason.  Contact me with any questions.


Product List

Thursday, September 23, 2021

Emboss Resist with the Pretty Pumpkins Bundle


Today I am using the Pretty Pumpkins bundle.  My thought was to do a Cinderella inspired card with the Be Dazzling paper from the Sale-a-Bration catalog.  I set to work and loved the end result, only to find out that the Be Dazzling paper has sold out!  We are nearing the end of Sale-a-Bration,  just one week left, so the items will be selling out.  The card was so fun to make so I decided to look for alternatives. 


My first choice was to use Silver Foil instead and I really like how it turned out.  The card base is Balmy Blue, similar to Cinderella's ball gown in the classic story. I used Balmy Blue and Blending Brushes to add color to the background.  I also stamped and embossed the center pumpkin and vine on a separate piece of Basic White and used the Blending Brushes to add color on top of the embossed images (Emboss Resist technique).


I was having fun with the Emboss Resist technique so I decided to try another version. This time I used Rainbow Glimmer Paper. The colors used here are Magenta Madness and Mango Melody. 

I love the sentiment in this set: If Friends were pumpkins, I'd pick you. 


Take a look at the how to video here for tips on using the specialty papers and the Blending Brushes.


Shop with me! I would love to be your demonstrator.  I always send a hand stamped thank you card and sometimes more with a larger order, and I share my Stampin' Rewards with you through my Frequent Buyer Rewards! Earn FREE STAMPS! Click on the Frequent buyer tab to download the tracking sheet.

Is your wish list large?  Join my team! You don't have to 'Demonstrate' to be a 'Demonstrator'.  Join Stampin' Up! and get a nice discount on the products you love, and you can quit at any time.  Joining for the discount and social aspects of Stampin' Up! is a great reason.  Contact me with any questions.

 Product List

Friday, September 17, 2021

Mirror image stamping using Arctic Bears


Yes, It's another post with the Arctic Bears stamps! Can't help myself.  I keep coming up with new ideas.Last night I wanted to make a card that was less masculine and more 'pretty' and I wanted to use t he You & Me sentiment.  I thought about placing the bears on a heart background, but in the end I landed on this die from the Christmas Labels dies.  There was just one problem, the bears were not facing each other. 

Have you ever wished that a stamp was facing a different way?   


Both the Big Bear and the Little bear are facing the same way, which is fine I guess but I really wanted them to be looking at each other.  

Luckily, I remembered the Mirror Image Technique, sometimes called the reverse image technique.  


You can use the 'kissing' method, where you stamp onto a larger solid rubber stamp with the bear, then stamp again onto your paper. Or, you can use the Stamparatus for an easier way, where you can stamp a few times for darker images and still line up your dies and cut easily too!  See both methods in my video below.


Shop with me! I would love to be your demonstrator.  I always send a hand stamped thank you card and sometimes more with a larger order, and I share my Stampin' Rewards with you through my Frequent Buyer Rewards! Earn FREE STAMPS! Click on the Frequent buyer tab to download the tracking sheet.

Is your wish list large?  Join my team! You don't have to 'Demonstrate' to be a 'Demonstrator'.  Join Stampin' Up! and get a nice discount on the products you love, and you can quit at any time.  Joining for the discount and social aspects of Stampin' Up! is a great reason.  Contact me with any questions.


Product List