Showing posts with label Easter Basket. Show all posts

Wednesday, March 29, 2023

One Template Two Ways - Paper Basket Easter Treat holder


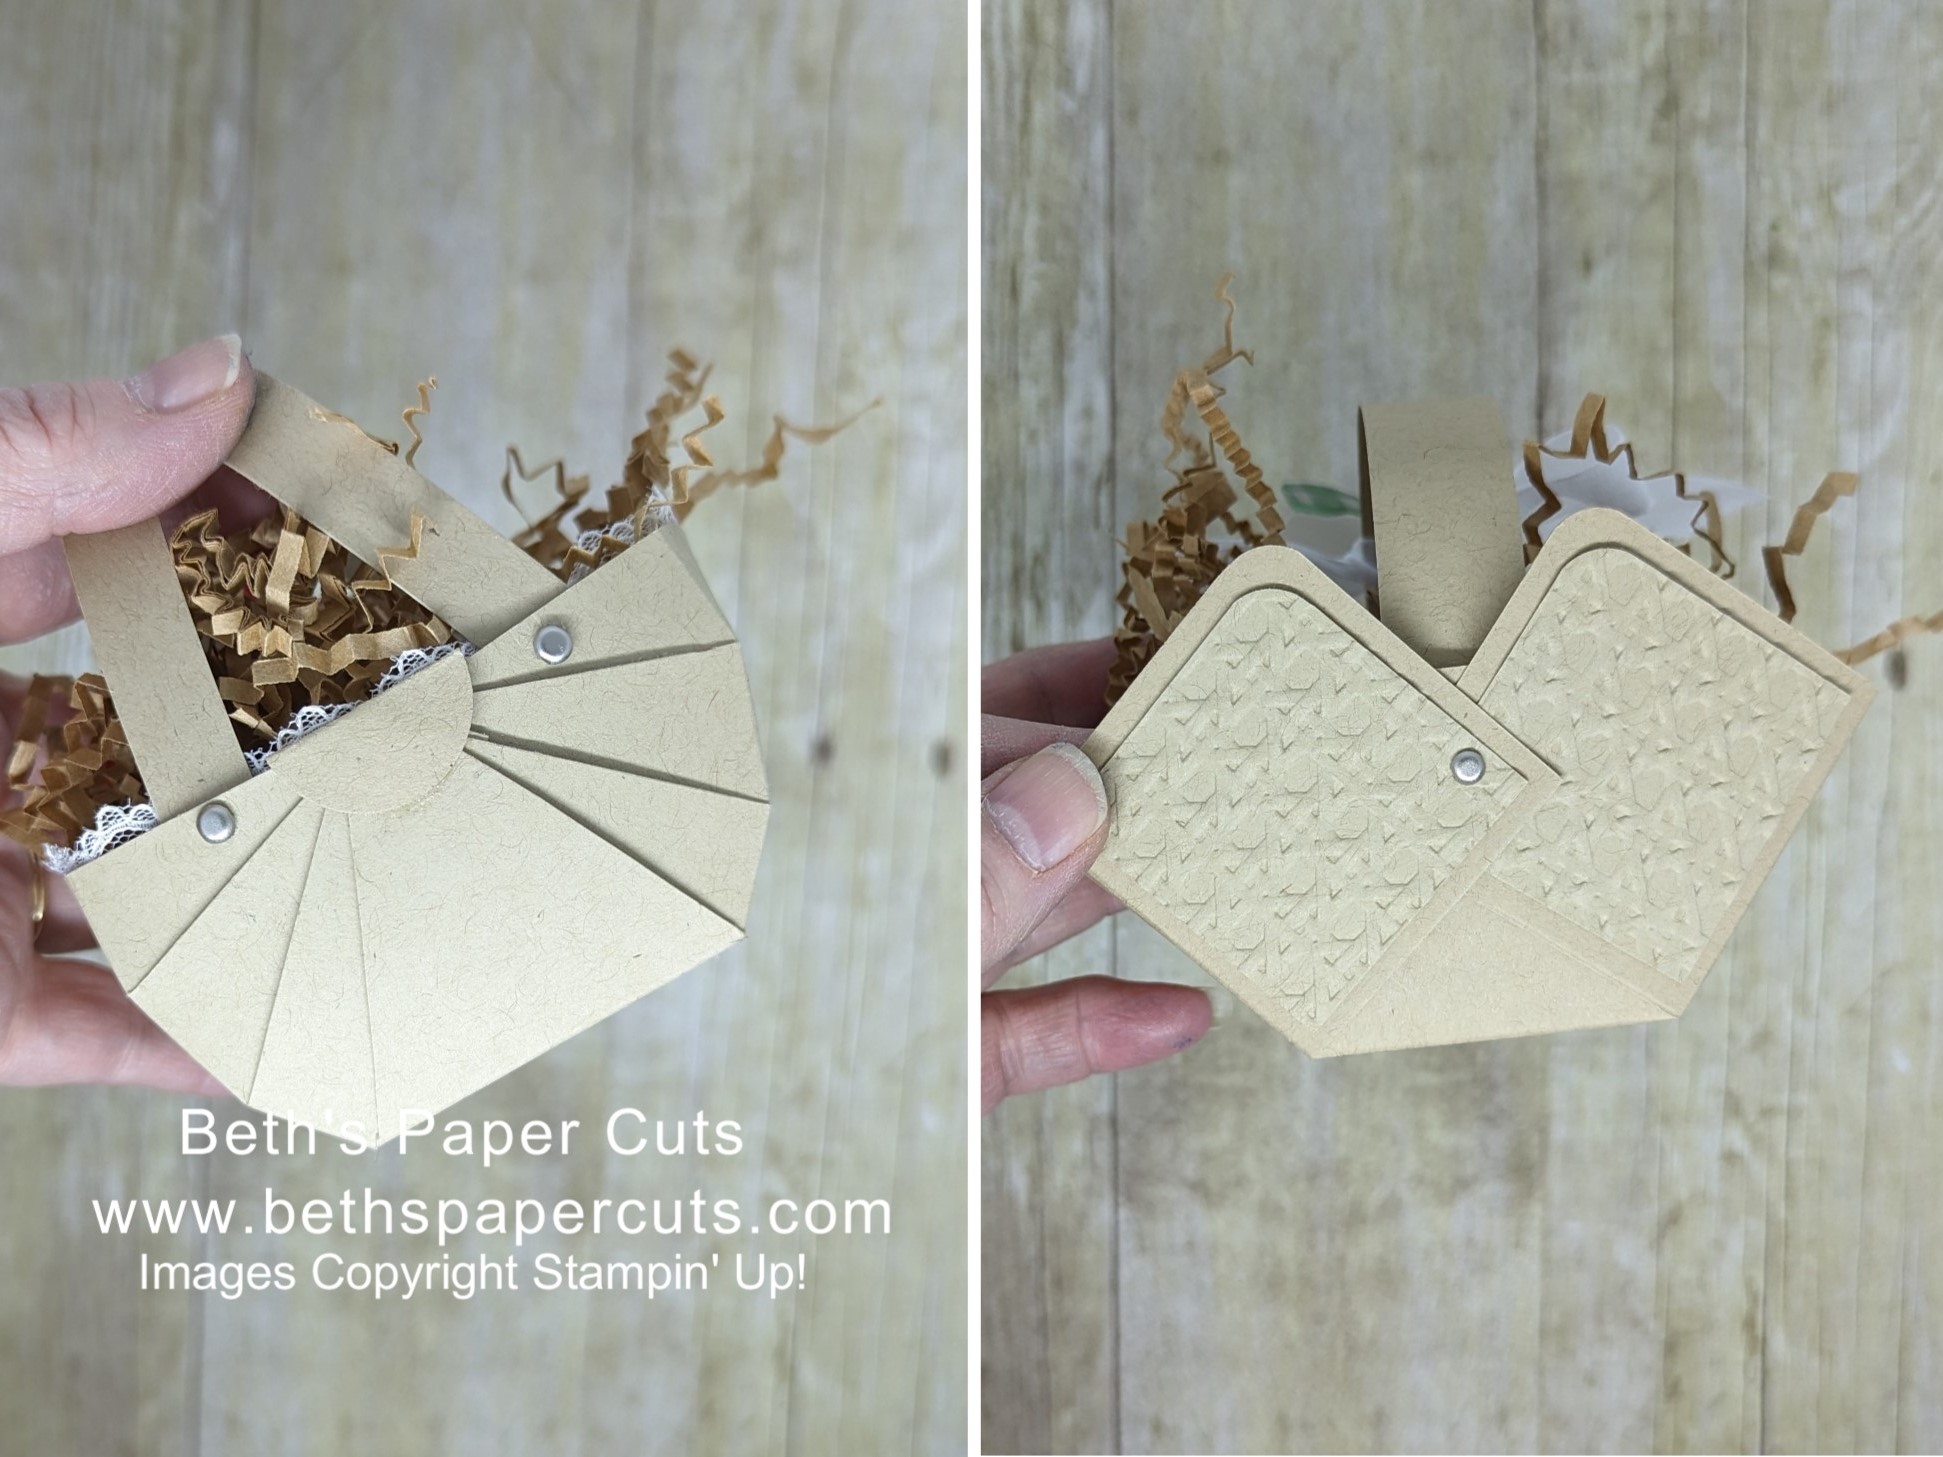
Hi Everyone! Today I wanted to show how to make some Easter Treat Baskets. I used a very simple "2,4,6" template on both, but I changed them up a little to get two different basket looks.  Which do you like?  Here they are with an added tag for decoration.


To make the tag I used the Decorative Circle punch in white, then punched again with a strip of Designer Series Paper from the Regency Park Pack to get the bottom edge only.  I then added a bunny punched from the Country Gingham Designer Series Paper Pack. 

As of today as I post this, the Bunny Punch is on backorder :( however the stamp is not and you can use the stamp to add a bunny or even just stamp the bunny on gingham paper and cut it out by hand.


 For this version, I decorated the sides with panels of cardstock embossed with the Cane Weave 3D Embossing folder. 


You can see how to make both of these versions in my video below. 


Which version is your favorite?

Product List

Tuesday, March 10, 2020

Welcome Easter

Hi Everyone! I am using the new Welcome Easter Stamp set this week and it is just so cute!! The set has this adorable bunny and also a sheep and a check that are just as sweet.  I wanted to make a little Easter Basket as I do every year and I think it turned out great.
I used my Watercolor Pencils and a Blender pen to color in the stamped image. I think that this method gives the bunny a lighter and softer look.
The Easter Blessing stamp is embossed onto Calypso Coral cardstock with White Embossing powder. That stamp is from the Itty Bitty Greetings set.  The gingham paper behind the bunny is from the Pleased as Punch Designer Series Paper.  I also used the Basket Weave Embossing folder to give the project an even bigger basket feel.
 This super cute Easter Basket is also Super Easy to make.  Watch the video for tips and make one with me! If you do, I hope you will share it on my "Beth's Paper Cuts Idea Sharing Group" on Facebook.


I found these cute little chocolate carrots at Target, perfect for my bunny basket!


Shop with me! I would love to be your demonstrator.  I always send a hand stamped thank you card and sometimes more with a larger order, and I share my Stampin' Rewards with you through my Frequent Buyer Rewards! Earn FREE STAMPS! Click on the Frequent buyer tab to download the tracking sheet.
  Product List

Thursday, April 6, 2017

More Basket Bunch

I made a Bunch of cards with all the little pieces I made with the Basket Bunch Bundle.  I thought I would share them all in one spot.


Last week I just stamped a whole bunch of images and cut them out with the dies, without any plan of what to use them for.  I knew I wanted to make some Easter treat holders and some cards, so I just stamped and colored and cut them out.


 I have a YouTube videos for the individual projects.  Check them out here...https://www.youtube.com/BethRush


Don't miss out on this great bundle!
you will use this one for years to come!
Product List

Wednesday, March 29, 2017

2, 4, 6 Basket

Hi everyone.  Today I wanted to share another fun Easter project.  I really love this basket.  It is just so cute! And it is also easy to make, which makes it even better.


To start you need a piece of cardstock cut at 6 by 6 inches.   Next score at 2 and 4 inches, then turn and score at 2  and 4 again.  You will have a tic tac toe board in score lines.  You can make this basket bigger by starting with an 8 or even 10 or 12 inch square.  You just need to divide your square into 9 equal parts as shown.


 The next step is to cut the corner squares into 3 equal parts as shown, cutting from to the center score line.  For the center squares ib the top and bottom, find the center and make a mark.  Then cut from that center line to the score lines.  You will end up with a triangle shape as shown.


 Cut off the tips of the inner two strips as shown.


You then need to fold the basket up as shown, layering the strips on top of each other until they look like this. You can then ad some glue or staple them into place.  Cut the little tip off the triangle that is above the basket sides.


A one inch circle folded in half will cover the tip and help keep all the layers in place.


Use a hole punch and brads to attach handles as shown.  These handles are half inch by 6 inches.


I hope you like this little basket as much as I do.


Product List